With ezCheckPrinting, you can print professional checks with a company logo in house easily. If you have not installed ezCheckPrinting, you can download the ezCheckPrinting trial version from our site for free. You can find the follow information in this guide:
Step 1: Add a logo
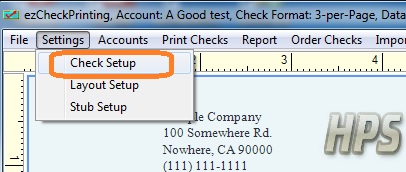
- Start ezCheckPrinting, click the top menu "Settings->check setup" to open the check setup screen.
- You must select the blank stock option to print the logo on the check.
- Specify the logo image. We suggest the .bmp, .jpg, .gif format image. (Some clients reported their computers cannot .png image on Mac.)
Step 2: Customize the logo (optional)
- Click the top menu "Settings->Layout Setup" to open the check layout page.
- Click the logo on screen to select it. Then you can resize it or drag/drop the logo to a new position.
-If you are satisfied with the layout, please click the Save button to save your change.