ACH Direct Deposit: How to Collect Funds
ezACH deposit software can generate ACH file that you can upload your bank account to speed up electronic fund transfer. So you can pay your employees easier or get funds from your clients faster.
1. Before you start
1.1. You need to talk with your bank to
enable ACH direct deposit feature.
1.2: Collect Client Information
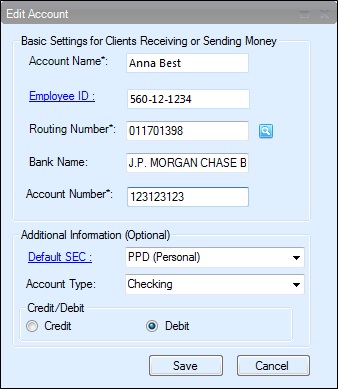
You need to ask your client for the bank information, such as bank name, routing number, account number, account type (saving or checking account) and client name.
You may also need to get his signed agreement to allow you collect funds from his account.
1.3. Download and install ezACh software
You can download and try ezACH software for free before purchasing, with no credit card needed and no obligation.
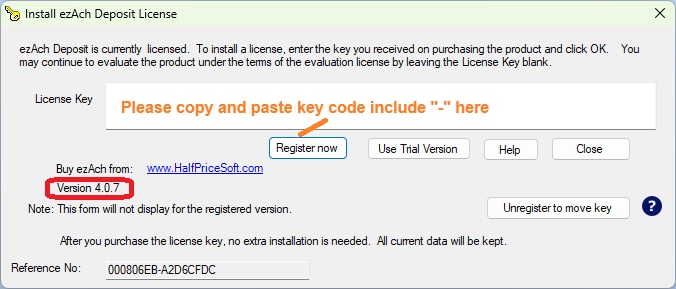
Once you installed ezACH, you will see the ezACH shortcut on desktop. You can double click it to run ezACH software.

For the first time, you will see key code input pop up screen. Once you entered the key code, you will not see it again. If you just want to try ezACH software, you can click the "Use Trial Version" button to trial ezACH software.
2. Generate the ACH file and Upload It to Your Bank.
2.1 Set up your account information
Enter account information
(If you have already set up your account, you can ingore this step)
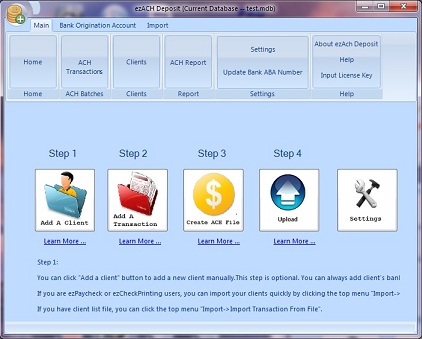
Click the Settings button to open account setup screen
(Click image to enlarge)
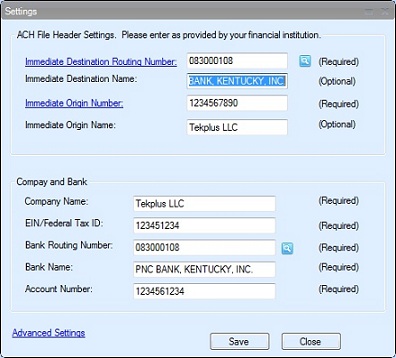
ACH Header Settings
|
Immediate Destination Routing number
| Typically your bank's ABA/Routing Number (9 digits)
|
|
Immediate Destination Name
| Your Bank Name. Such as "PNC BANK, KENTUCKY, INC." or "Bank of America NE"
|
|
Immediate Origin Number
| This is the company ID assigned by your bank. Typically your Fed ID (oftern with a leading "1"), an account number, or ABA Number. Not sure, Try 1 + Fed ID. The maximum length is 10-digit.
|
|
Immediate Origin Name
| Your company Name
|
(Click image to enlarge)
2.2 Add a new client
On the home screen, click the button Add a Client to add employee account information. Or you can click the top menu "Main" then "Clients" to add a new employee.
(Click image to enlarge)
2.3 Add New Transactions to collect funds
You can enter the transactions manually.
Or you can import the transaction from external csv file.
To collection payment, you should be choose DEBT option
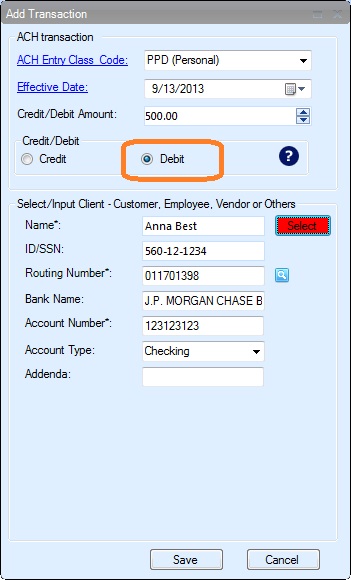
(Click image to enlarge)
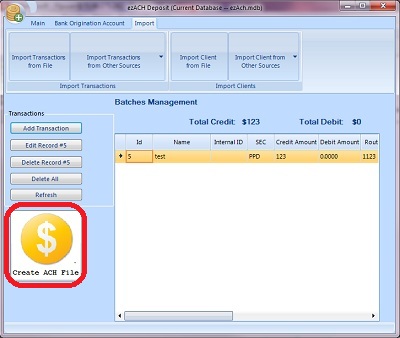
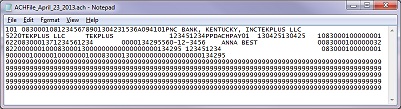
2.4 Create the ACH file
- Review the transactions. If everything is correct, click the "Generate ACH file" to generate the file
(Click image to enlarge)
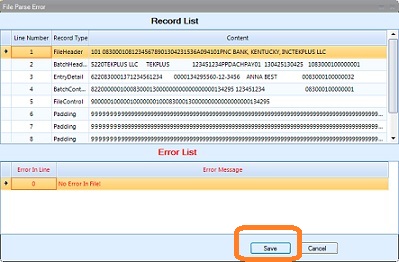
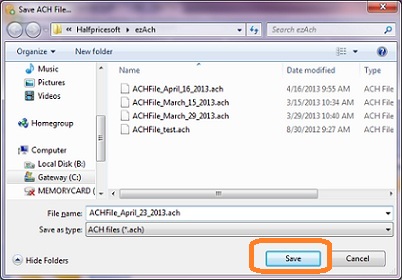
- If there is no error in list, click the SAVE button to save your file.
(Click image to enlarge)
(Click image to enlarge)
(Click image to enlarge)
2.5 Upload ACH file to your bank
Then you can log in your bank account, upload the ACH file, review and authorize the transactions.
Your bank should give you the user ID, password and instructions on how to upload/send file. You can contact your bank for more details.
Here is a sample on how to upload the ACH file to PNC bank.
3. Your bank will process the transaction and transfer the money from your client's account to your account.
Usually it takes 24 to 48 hours to receive the fund in your account.
Related Links:

